Panoply is a fully managed data warehouse service that will spin up a Redshift instance in just a few clicks. With Panoply, you can use your favorite analysis, SQL, and visualization tools just like you would if you were creating a Redshift data warehouse on your own.
Additionally, Stitch is in no way involved with the management of Panoply data warehouses. If you have billing questions or need help regarding your Panoply data warehouse, please reach out to Panoply.
Spinning Up a Panoply Destination
- Click the Destination tab.
- Click the Panoply.io icon.
- A page explaining what’s in a Panpoly free account will display. Click the Create a Free Account button.
- Click the Create My Account button when a pop-up explaining the use of your email address displays.
- It may take a few minutes, but after your Panoply data warehouse is successfully created, the Panoply connection info will display in Stitch:
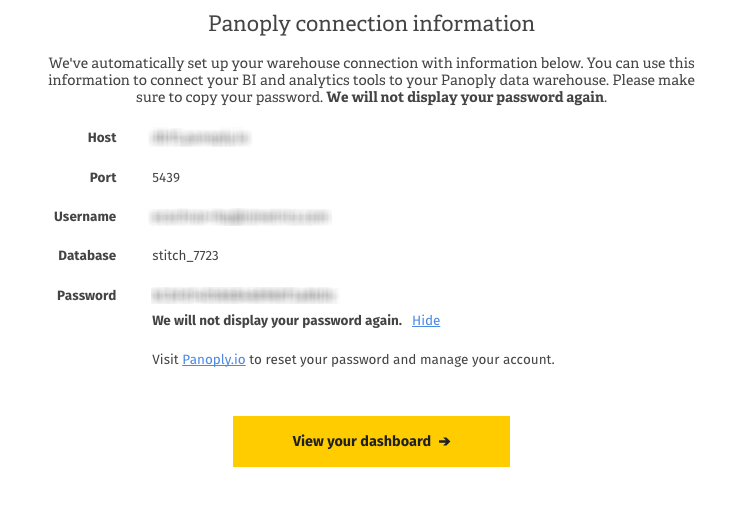
- Make sure to copy your password as Stitch won’t display it again.
- After you’ve copied your password, click the View Your Dashboard button to wrap things up.
The Panoply data warehouse connection settings will automatically populate in the Destination Settings page. If you need to update the settings at any point, click the Destination tab.
Managing Your Panoply Account
After the account is created, you can manage your Panoply settings by signing into Panoply.io.
Troubleshooting
If you receive an error message, please reach out to support for assistance.
Learning About Stitch & Panoply
Now that your Panoply data warehouse is up and running, we recommend learning about how Stitch will load your data into it.
- Panoply Destination Overview: This overview will give you the high-level basics for working with your Panoply data warehouse.
- Destination Data Loading Guide: This article covers many of the common scenarios Stitch will encounter when loading data into your Panoply destination and the expected behavior for each scenario.
| Related | Troubleshooting |
Questions? Feedback?
Did this article help? If you have questions or feedback, please reach out to us.