| Release Status | Released | Availability | Free |
| Supported Versions | n/a | SSL Connections | Supported |
| Whitelist Tables/Columns | Supported/Supported | View Replication | Unsupported |
| Destination Incompatibilities | None | ||
Connecting Heroku
If you want to connect Heroku-Postgres as a data warehouse, refer to the Connecting a Heroku-Postgres Destination guide.
Connecting a Heroku database is a four-step process:
- Retrieve your Postgres credentials from Heroku
- Enter the connection info into Stitch
- Define the Replication Frequency
- Sync data & select Replication Methods
Retrieving Your Postgres Credentials from Heroku
If you haven’t logged into your Heroku app yet, do so now. After you’re logged in, do the following to retrieve your Heroku Postgres database credentials:
- In the main dashboard section of the Heroku app, locate the Add-ons section. Add-ons will list any Postgres databases currently added to your Heroku account.
- Click the name of the database you want to connect to Stitch.
- The credentials needed to connect to Stitch will display in the Connection Settings section.
- To finish the setup, you’ll need the Host, Database, User, Port, and Password. Click Show to display the password.
Here’s a look at the credentials page:
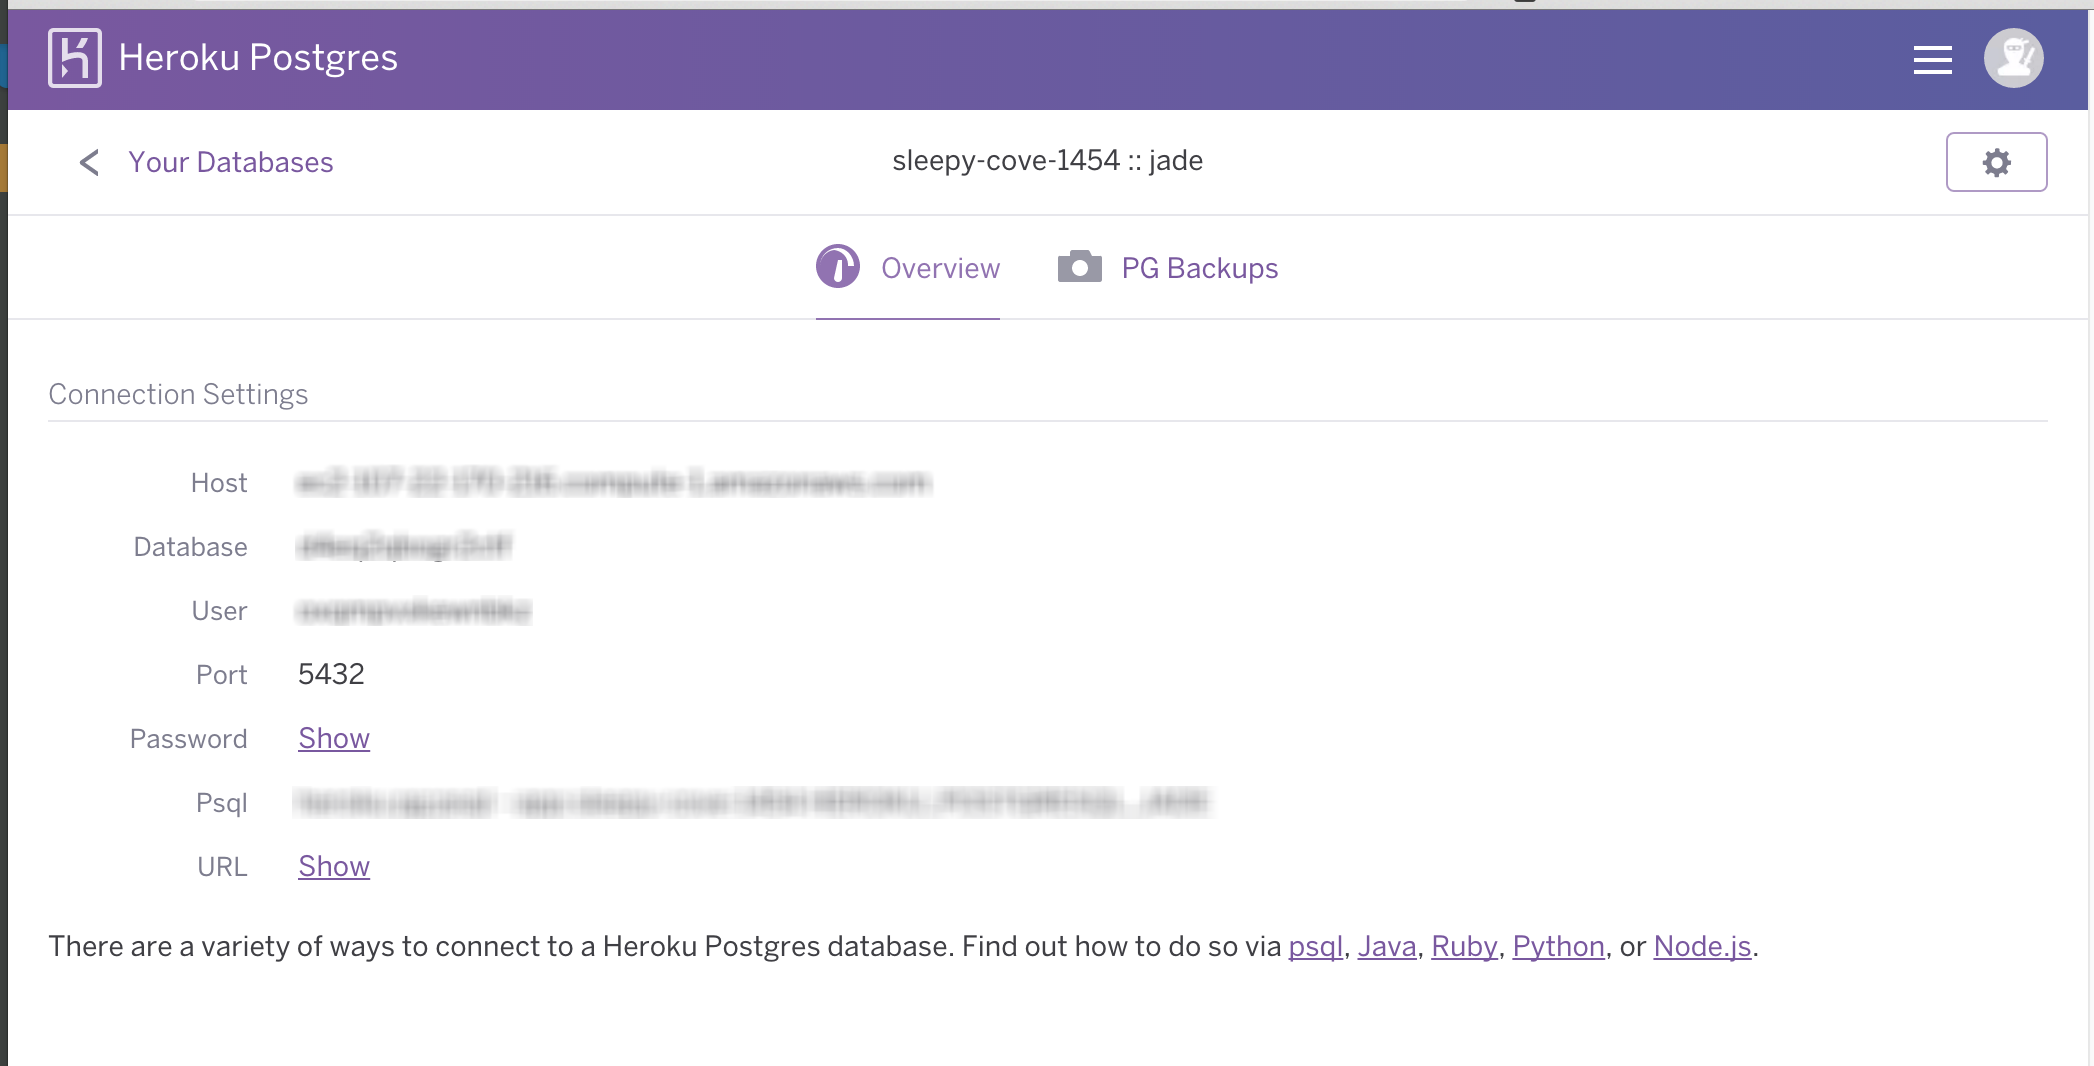
Leave this open for now - you’ll need it in the next step to complete the setup.
Add Heroku as a Stitch Data Source
- On the Stitch Dashboard page, click the Add an Integration button.
-
Click the Heroku icon.
-
Enter a name for the integration. This is the name that will display on the for the integration; it’ll also be used to create the schema in your data warehouse.
For example, the name “Stitch Heroku” would create a schema called
stitch_herokuin the data warehouse. This schema is where all the tables for this integration will be stored. - In this page, fill in the following fields with the info from the Heroku-Postgres Credentials page:
- Host: The host address used by your Heroku instance
- Port: The port used by your Heroku instance
- Database: The name of the Heroku database
- Username: The Heroku database user’s username
- Password: The Heroku database user’s password
Remember: Because Heroku-Postgres enforces SSL by default, you don’t need to take any further action to encrypt your data.
Define the Replication Frequency
The Replication Frequency controls how often Stitch will attempt to replicate data from your Heroku integration. By default the frequency is set to 30 minutes, but you can change it to better suit your needs.
Before setting the Replication Frequency, note that:
- The more often Heroku is set to replicate, the higher the number of replicated rows.
-
The number of rows in the source may not equal the number of rows replicated by Stitch. Tables that use Full Table Replication will result in a higher number of replicated rows.
- If you’re using a data warehouses that doesn’t natively support nested structures, you’ll see a higher number of replicated rows due to the de-nesting Stitch performs.
To help prevent overages, we recommend setting the Replication Frequency to something less frequent - like 6 hours instead of 30 minutes. For tips on reducing your row count, check out the Reducing Your Row Count section of our Billing Guide.
After selecting a Replication Frequency, click Save Integration.
Select Tables & Columns to Sync
The last step is to select the tables and columns you want to sync. When you sync a table, you’ll also need to define its Replication Method and, if using Incremental Replication, its Replication Key.
You can sync tables and columns by:
- In the Integration Details page, click the Tables to Replicate tab.
- Locate a table you want to replicate.
- Click the checkbox next to the object’s name. A green checkmark means the object is set to sync.
- If there are child objects, they’ll automatically display and you’ll be prompted to select some.
- After you set a table to sync, the Table Settings page will display.
- In the Table Settings page, you’ll need to define the table’s Replication Method and, if using Incremental Replication, its Replication Key.
- Repeat this process for every table you want to replicate. Note that when you sync a table, by default all columns will also be set to sync.
| Related | Troubleshooting |
Questions? Feedback?
Did this article help? If you have questions or feedback, please reach out to us.